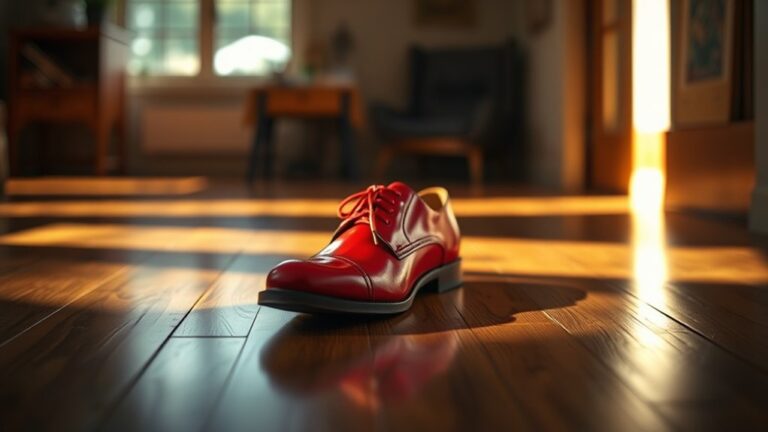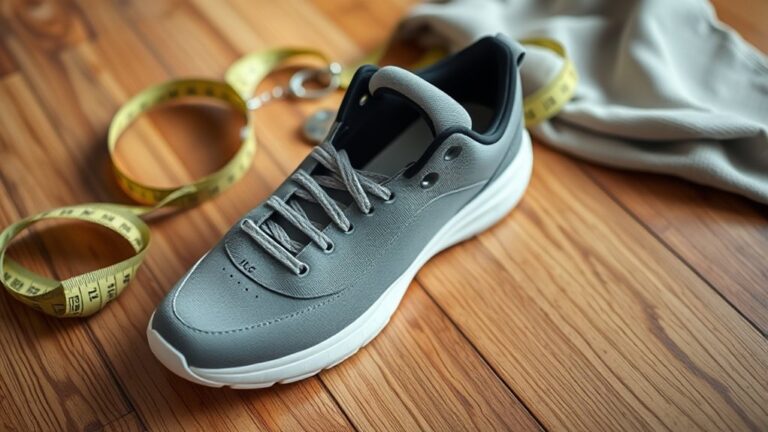
How Long Does Shoe Goo Take To Dry – Drying Time Guide
You’ll notice Shoe Goo becomes water-resistant within minutes and tacky to the touch in a few hours. But it actually needs 48 to 72 hours to fully dry and cure for maximum strength, flexibility, and waterproofing.
Applying thin, even layers in a warm, dry environment speeds up the drying process. On the other hand, thicker coats will extend the cure time.
Make sure to avoid moisture until it’s fully set, or you might end up with weak bonds. Getting these details right helps you achieve a durable, long-lasting repair.
Key Takeaways
- Shoe Goo begins drying within hours, offering partial water resistance in minutes after application.
- Full curing takes 48 to 72 hours, with thicker layers potentially needing up to four days.
- Applying thin, even coats speeds drying and improves adhesion and waterproofing.
- Warm, dry conditions accelerate curing, while cool, humid environments slow the process.
- Avoid moisture and contaminants during curing to ensure maximum strength and durability.
How Long Does Shoe Goo Take to Dry and Cure?
Although Shoe Goo begins to dry within hours, you should allow about 24 hours before handling the repair. This helps make sure the adhesive becomes tacky enough for a light touch.
Proper surface preparation is essential; make sure the area is clean, dry, and free of debris to promote ideal adhesion and prevent curing issues.
When applying Shoe Goo, think about color matching carefully, especially on visible surfaces. The adhesive usually dries clear but might slightly change the shoe’s appearance.
For full curing and maximum strength, wait 48 to 72 hours before exposing the repair to water or heavy use.
Thinner layers dry faster, but thicker applications need more time to cure completely—up to four days.
Following these guidelines will help you get a durable, professional-quality repair that holds up to regular wear.
Factors That Affect Shoe Goo Drying and Curing Time
You’ll notice that temperature and humidity play a big role in how quickly Shoe Goo dries and cures. When it’s warmer and drier, the process speeds up quite a bit.
On the other hand, applying thicker layers means it takes longer to cure—sometimes up to 72 hours to reach full strength.
Knowing these factors can really help you get the best adhesion and durability when you’re using Shoe Goo.
Environmental Conditions Impact
When you apply Shoe Goo, environmental conditions play a crucial role in determining how quickly it dries and cures. Climate variation and indoor conditions substantially influence the process. Here’s what you need to contemplate:
Higher temperatures and low humidity accelerate drying, reducing curing time. Cooler or humid environments slow curing, potentially extending it beyond 72 hours. Direct sunlight speeds curing but may alter the finish, especially on clear applications.
Contaminants like dust or moisture interfere with adhesion, prolonging full strength achievement. Understanding these factors helps you optimize Shoe Goo’s performance by selecting the right environment.
Adjusting your workspace temperature and humidity can ensure efficient curing and lasting repairs. Avoid exposure to contaminants to maintain adhesion integrity and achieve the best results. Taking these steps makes a big difference in how well your repairs hold up.
Application Thickness Effects
Since the thickness of your Shoe Goo application directly influences drying and curing times, understanding how to control layer depth is essential for ideal results. Thinner applications, typically less than 1mm, dry faster and often cure within 24 hours due to quicker solvent evaporation and efficient chemical bonding.
In contrast, increased application thickness slows curing, sometimes extending up to 72 hours, as the adhesive requires more time for full solvent release and bonding. Applying multiple thin coats rather than one thick layer improves curing consistency and reduces overall drying time.
Excessively thick layers risk incomplete curing, leading to weaker bonds and prolonged drying. Maintaining suitable temperatures around room temperature further supports consistent curing, especially for thinner applications. This ensures reliable adhesion and durability in your repairs.
Tips for Applying Shoe Goo for Proper Drying and Lasting Repairs
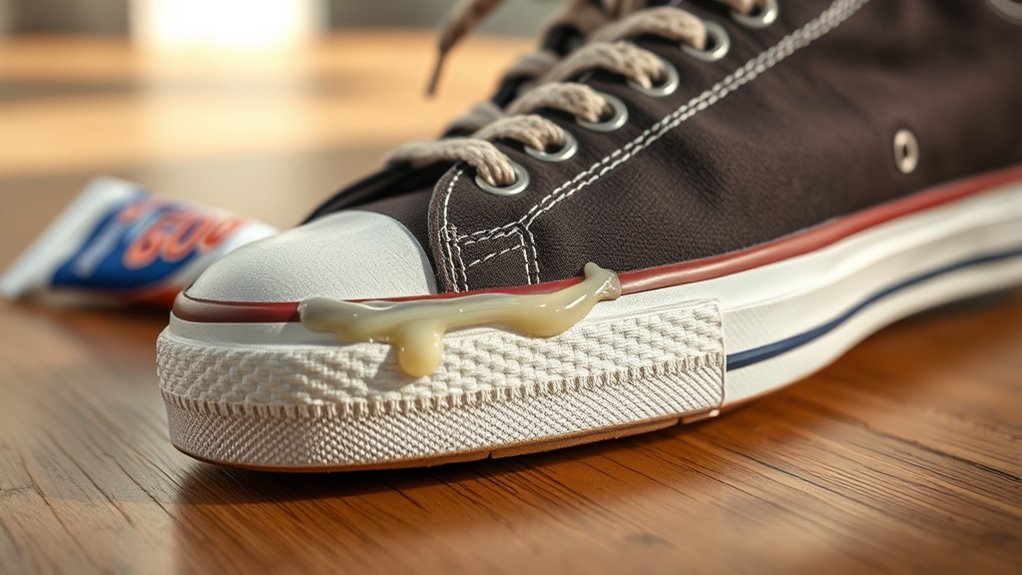
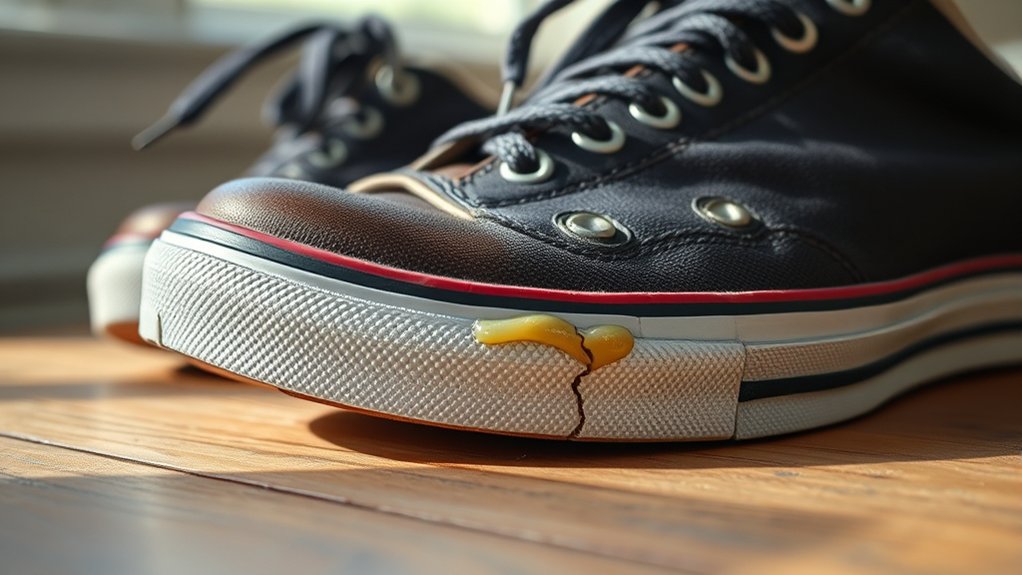
You’ll want to apply Shoe Goo in thin, even layers. This helps it dry uniformly and stick better.
Make sure you’re working in a clean, dry spot—dirt and moisture can mess with the bond and make it weak.
Also, try to keep the temperature around 100°F, but avoid using direct heat. This will help the repair cure properly and last longer.
Application Techniques
Although applying Shoe Goo might seem straightforward, following specific techniques guarantees faster drying and stronger, lasting repairs. Proper surface preparation is critical. Make sure to clean and dry the area thoroughly to boost adhesion.
If you care about how your shoe looks, think about color matching. Use the clear or colored formula that best suits your shoe.
Here’s how to get the best results:
- Apply thin, even layers. This helps speed up drying and strengthens the bond.
- Avoid thick coats because they make curing take longer and can weaken the adhesion.
- Let the adhesive cure undisturbed at room temperature for at least 24 hours.
- You can use gentle airflow or low heat to slightly speed up drying, but avoid direct high heat.
Doing it this way makes sure your repairs last and dry efficiently.
Curing Environment
When applying Shoe Goo, creating a suitable curing environment considerably improves drying time and bond strength. You should apply it in a well-ventilated area to help the solvent evaporate and reduce fumes.
Keep the repaired shoe dry and away from water for at least 24-48 hours to prevent the bond from weakening. Also, maintain a consistent curing temperature between 65°F and 75°F (18°C to 24°C) for the best adhesive performance.
You can slightly speed up curing by using a gentle heat source or placing the shoe in a warm spot. This can reduce the full cure time to 24-72 hours.
Applying a thin layer and allowing at least 24 hours to cure ensures maximum durability. By managing these factors carefully, you’ll get a strong, lasting repair with Shoe Goo.
Speed Up Shoe Goo Drying Without Losing Strength
While speeding up Shoe Goo drying is desirable, maintaining the adhesive’s strength requires careful technique. Unlike some alternative adhesive types that cure rapidly but lose flexibility, Shoe Goo needs precise handling.
Speeding up Shoe Goo drying is tempting, but preserving its strength demands careful, precise application techniques.
Here’s how you can accelerate drying without compromising its bonding power:
Apply thin, even layers to minimize drying time while preserving strength. Use surface preparation techniques. Clean and slightly roughen surfaces to enhance adhesion and reduce curing delays.
Employ low heat (around 100°F) with a heat gun or hairdryer to speed curing without degrading flexibility. Keep the repair in a warm, dry place to facilitate faster solvent evaporation and better polymerization.
Following these steps helps you balance faster drying with Shoe Goo’s durable, flexible bond.
How to Tell When Shoe Goo Is Fully Cured
Because curing times vary with thickness and environmental conditions, you’ll need to assess multiple factors to determine when Shoe Goo is fully cured.
First, observe any color change. The adhesive typically shifts from glossy to a more matte finish as it cures.
Next, check texture consistency by gently pressing the repaired area. It should feel firm and resilient, not tacky or soft.
Initial handling is possible after about 24 hours, but full cure, marked by maximum strength and flexibility, usually occurs between 48 to 72 hours.
Keep in mind that higher temperatures and lower humidity accelerate curing, while cooler, humid environments delay it.
For precise confirmation, verify the repaired surface is completely dry, with consistent texture and no residual stickiness before subjecting it to stress or moisture.
How Shoe Goo’s Waterproof Bond Develops Over Time
Although Shoe Goo provides immediate water resistance as soon as you apply it, the full waterproof bond takes time to develop. It usually needs a curing period of 24 to 72 hours. This curing process is super important because it helps the adhesive form a flexible, seamless seal that completely keeps water out.
To get the best results, there are a few key steps to keep in mind:
- Surface preparation: Make sure to clean and dry the area really well. This helps the Shoe Goo stick better and improves waterproofing.
- Application: Spread the Shoe Goo evenly. If color matching matters to you, try to keep it consistent so it looks good.
- Initial drying: You’ll notice some water resistance within minutes, but try not to expose it to moisture while it’s still curing.
- Full cure: For the strongest waterproof bond, let it cure for 48 to 72 hours. This ensures it can handle longer exposure to water without failing.
When you let Shoe Goo cure properly, its waterproofing works at its best and lasts longer.
Why Waiting for Full Cure Makes Shoe Goo Repairs Last
If you want your Shoe Goo repair to hold up under daily wear and environmental stress, you need to wait the full 24 to 72 hours for it to fully cure. During this time, ongoing chemical reactions complete, optimizing Shoe Goo’s adhesive properties to achieve maximum strength and flexibility.
Partial curing within the first few hours creates only a temporary bond, which is vulnerable to mechanical stress and water exposure. Fully cured Shoe Goo maintains its waterproof, abrasion-resistant, and flexible characteristics. This helps prevent cracks or peeling in the repaired area.
Rushing to use the item before it’s completely cured can weaken the adhesive interface and cause premature separation. So, by allowing full curing, you guarantee the repair will endure everyday wear, environmental conditions, and moisture.
This way, you get a durable, long-lasting fix you can count on.
Frequently Asked Questions
Can Shoe Goo Be Used on Materials Other Than Shoes?
You can use Shoe Goo on various materials like rubber, plastic, wood, metal, and leather, thanks to its excellent material compatibility. It offers reliable alternative repair options beyond shoes, sealing cracks and bonding diverse surfaces effectively.
Is Shoe Goo Safe for Kids to Use?
Wondering if Shoe Goo guarantees child safety? You shouldn’t let kids use it until fully cured, as uncured glue contains harmful solvents. Once dry, it’s non-toxic, but consider non-toxic alternatives for safer handling.
It’s best to keep kids away from the glue while it’s drying to avoid any risks. After it’s fully set, it’s generally safe, but why not play it extra safe? There are plenty of kid-friendly options out there that won’t cause any worries.
How Should Shoe Goo Be Stored After Opening?
You should follow storage tips by sealing the tube tightly after use. Keep Shoe Goo in a cool, dry place away from heat and sunlight. This helps preserve its shelf life and keeps the adhesive effective for when you need it next.
Doing this simple step can really make a difference. It ensures your Shoe Goo doesn’t dry out or lose its stickiness over time. So, always make sure the cap is on tight before putting it away.
Does Shoe Goo Have a Strong Odor During Drying?
You’ll notice Shoe Goo’s drying smell has a strong odor intensity initially, caused by solvents like toluene. This odor fades considerably once cured, so ventilate well to minimize discomfort during the drying phase.
It’s pretty normal for adhesives like this to have a strong smell at first. Just make sure you’re in a well-ventilated area, and the smell won’t bother you for long. Once it’s fully dry, the odor basically disappears.
Can Shoe Goo Be Painted Over After Drying?
You can paint over Shoe Goo once it’s fully dry, which usually takes about 24 to 72 hours.
Make sure it’s completely cured and hardened before you start painting. This helps prevent the paint from peeling off later.
Sanding the surface beforehand is a good idea. It improves paint adhesion and helps you get a smooth, durable finish.
Conclusion
You’ll want to wait patiently, though it might feel like waiting an eternity, to let Shoe Goo fully dry and cure. Rushing this process compromises the bond’s strength and waterproof integrity.
By understanding factors that affect drying time and applying it correctly, you guarantee a repair that holds up under stress. Remember, only when Shoe Goo is completely cured does it deliver its maximum durability.
That’s what makes your shoe as good as new, if not better. So hang in there and give it the time it needs!