How To Wrap A Shoe Box – Creative Wrapping Ideas
To wrap a shoebox creatively, start by choosing sturdy, eco-friendly paper that extends beyond the box edges. Cut precisely and fold the lid separately, creating sharp triangular flaps on the short sides for a crisp look. Secure with double-sided tape and smooth edges carefully.
Protect your shoes inside with tissue or bubble wrap. Add coordinated ribbons, personalized tags, or natural twine with dried flowers for an artistic touch. Keep going to discover more ways to personalize and elevate your gift wrapping.
Key Takeaways
- Use sturdy, eco-friendly wrapping paper extending 2 inches beyond each shoebox side for neat coverage and durability.
- Wrap the shoebox and lid separately, folding and taping edges tightly for crisp, professional-looking seams.
- Personalize with coordinated ribbons, decorative tags, and handwritten notes secured with double-sided tape or hot glue.
- Consider eco-friendly alternatives like fabric wrapping, recycled newspaper, or natural twine with dried flowers for rustic charm.
- Protect shoes inside with tissue paper, bubble wrap, and fillers to maintain shape and prevent damage during gifting.
Materials You Need to Wrap a Shoebox Creatively
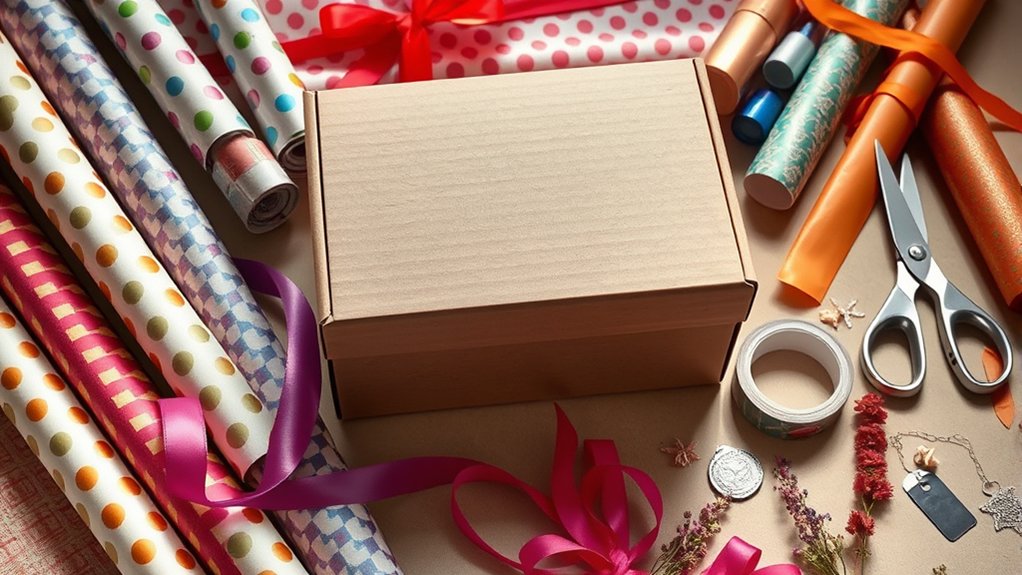
Before you begin wrapping your shoebox, gather all the essential materials to guarantee a smooth and creative process. Start with eco-friendly materials like recycled wrapping paper that’s large enough to cover the box with a neat overlap.
Begin by collecting essential materials, including eco-friendly wrapping paper, to ensure a smooth and creative shoebox wrapping experience.
Use sharp scissors to cut the paper precisely, avoiding jagged edges.
Double-sided tape or glue will help you secure the paper snugly around the box and lid without wrinkles.
To add charm, bring in decorative embellishments such as ribbons, twine, or creative stickers. These accents personalize your gift beautifully.
Don’t forget a gift tag to label your creation, enhancing the presentation with a thoughtful touch.
Having these materials ready ensures your wrapping process flows artistically and efficiently. That way, your shoebox gift will be truly special.
How to Wrap Your Shoebox Step by Step
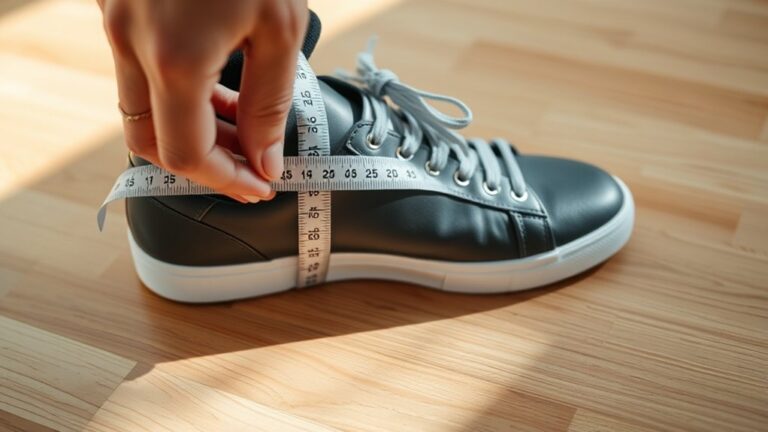
Once you’ve gathered your eco-friendly wrapping paper and decorative accents, you’re ready to transform your shoebox into a beautifully wrapped gift. Start by measuring the shoebox, considering the shoe size for accurate wrapping paper length. Wrap the box and lid separately, choosing a wrapping style that suits your aesthetic.
Fold the shorter sides inward, forming crisp triangular flaps. Then, wrap the longer sides neatly over the edges, securing each fold with double-sided tape for a polished finish.
| Step | Action |
|---|---|
| 1. Measure | Account for shoe size and overlap |
| 2. Wrap Lid | Secure with tape, smooth edges |
| 3. Fold Corners | Create sharp triangular flaps |
| 4. Wrap Box | Fold long sides, tape neatly |
Add ribbons or tags to complete your artistic touch. It’s the little extras that really make your gift stand out!
Choosing the Perfect Wrapping Paper for Shoeboxes
When selecting wrapping paper for your shoebox, make certain it extends at least two inches beyond each side to provide ample coverage and neat overlap. Choose sturdy, tear-resistant paper with a smooth, wrinkle-free surface to guarantee your wrapping stays flawless throughout handling.
Focus on color coordination by picking hues that complement the occasion or the recipient’s style, creating an immediate visual impact. Equally important is pattern matching. Select designs that harmonize with the event’s theme or the personality behind the gift.
Consider eco-friendly or reusable options to add a sustainable touch without sacrificing elegance. By thoughtfully balancing durability with aesthetics, you’ll elevate your shoebox wrapping into a personalized, artistic presentation that delights before the box is even opened.
Neat Folding and Taping Techniques for Clean Wrapping
Start by measuring and cutting your wrapping paper with exact precision to avoid any excess or gaps.
Then, fold the edges crisply at each corner, creating sharp seams that hug the box tightly.
After that, use small strips of tape along these folds to secure the paper smoothly.
This way, you’ll get a polished, professional finish without any wrinkles or loose edges.
Precise Measuring And Cutting
Although wrapping a shoebox may seem straightforward, achieving a flawless finish requires precise measuring and cutting. Start by using measuring accuracy to note the shoebox’s length, width, and height. Then add at least 2 inches to each dimension for overlap and folding allowances.
This guarantees your wrapping paper will cover every side neatly. Next, select sharp cutting tools, like scissors or a craft knife, to trim the paper exactly to these measurements.
Before wrapping, fold a 1cm edge along the cut sides of the paper. This subtle step creates a polished border that prevents fraying and helps with smooth taping.
As you work, keep your cuts clean and straight to maintain a professional appearance. This sets the stage for crisp, wrinkle-free wrapping.
Crisp Edges And Seams
After measuring and cutting with precision, focus on folding the wrapping paper tightly around your shoebox to achieve crisp edges and flawless seams. Use the triangle fold technique on the shorter sides to create neat, flat seams and sharp corners. Keep the tension even as you fold over the edges to prevent wrinkles or loose folds, ensuring a smooth, polished surface.
For perfect edge finishing, always fold excess paper inward along the edges before taping. Reinforce all seams with small pieces of nearly invisible tape, securing the folds discreetly for a seamless appearance. This seam reinforcement not only strengthens your wrap but also elevates the overall presentation.
It gives your shoebox a professional, artistic finish that’s both tidy and elegant.
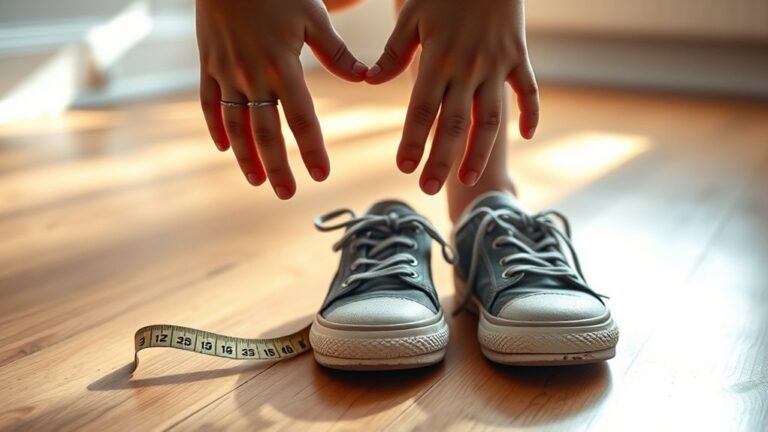
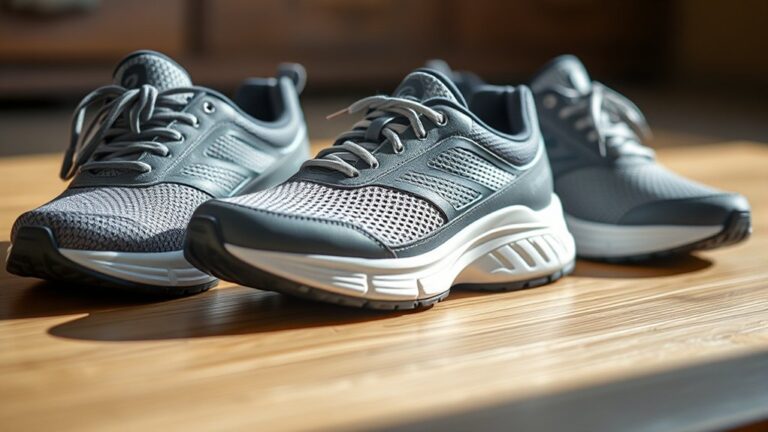
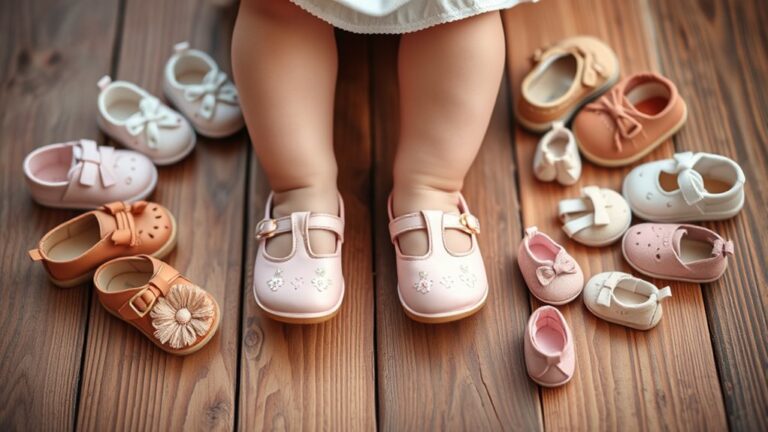
Protecting and Packing Shoes Inside the Shoebox
First, wrap each shoe gently in tissue paper or a soft cloth to keep them safe from scratches.
Next, line the inside of the shoebox with bubble wrap for some extra cushioning.
Don’t forget to fill any empty spaces with shredded paper or packing peanuts—this helps everything stay snug and prevents the shoes from moving around.
Shoe Protection Materials
How can you guarantee your shoes remain pristine during transport? Start with thorough shoe cleaning to remove dirt and prevent stains. Then, use packing accessories designed to protect delicate materials and shapes.
Wrap each shoe individually with tissue paper or soft fabric to avoid scratches. Cushion them inside the shoebox with bubble wrap so they don’t rub against each other. To keep the shoes perfectly in place, fill empty spaces with shredded paper or packing peanuts.
Position the shoes with soles down and heels upright, distributing weight evenly to maintain form. For extra support, insert a shoe form to retain the shape and prevent creasing. These steps assure your shoes arrive flawless and ready to wear.
- Tissue paper or soft fabric wrapping
- Bubble wrap cushioning
- Shredded paper or packing peanuts filler
- Shoes positioned soles down, heels upright
- Shoe inserts for shape retention
Filling Gap Solutions
Though packing shoes securely might seem straightforward, filling the gaps inside the shoebox demands careful attention to prevent shifting and damage. Start by making a shoe size adjustment, ensuring the box fits the shoes snugly.
Next, choose your cushioning material wisely. Tissue paper or bubble wrap works beautifully to wrap each shoe individually, shielding them from scuffs.
Then, fill empty spaces with crumpled newspaper, packing peanuts, or foam fillers to maintain shape and stability. These materials act as buffers, preventing movement during transit.
Secure Shoe Placement
Two key steps guarantee your shoes stay perfectly positioned inside the box: wrapping each shoe individually and arranging them heel-to-heel.
Start by wrapping each shoe in tissue paper or bubble wrap to protect against scuffs. Keep in mind your shoe size and the box dimensions.
Then, place them snugly with heels facing the same direction. Fill gaps with crumpled tissue, shredded paper, or foam fillers to prevent shifting.
For extra security, add a layer of filler over the shoes before sealing.
- Wrap shoes individually to shield surfaces
- Align shoes heel-to-heel for compact fit
- Use fillers to fill empty box spaces
- Double-layer protection absorbs shocks
- Cover shoes with tissue before closing the box
This method keeps your shoes secure and pristine during transit. It really makes a difference when you want them to arrive looking just like new.
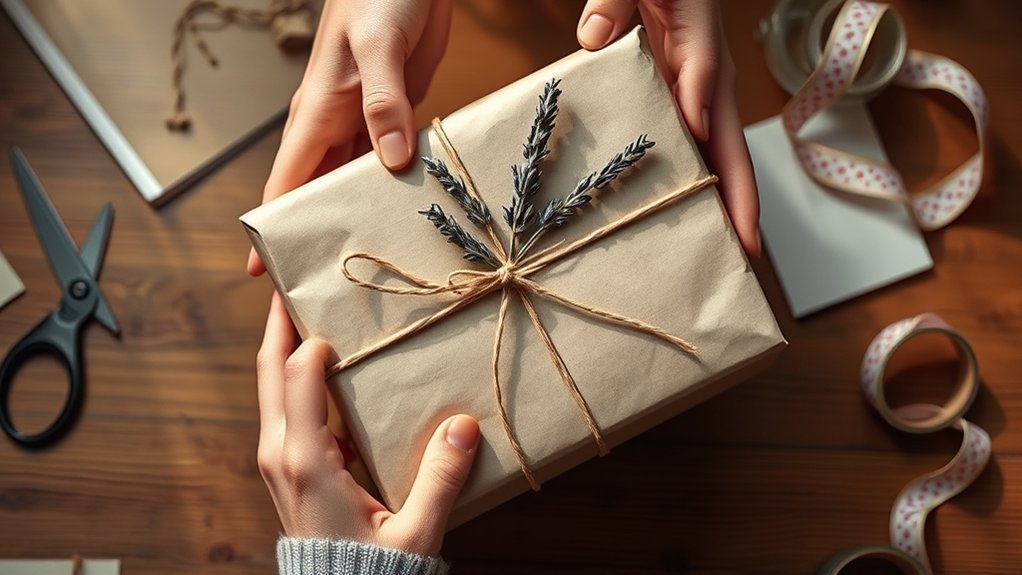
Personalizing Your Shoebox With Ribbons, Tags, and Decorations
When you want to elevate your shoebox wrapping beyond the basics, adding ribbons, tags, and decorations offers a beautiful way to personalize it. Start by selecting ribbon color choices that complement your wrapping paper. Satin works great for elegance, burlap adds rustic charm, and glitter brings a festive sparkle.
Next, choose decorative tag styles that fit the occasion. You can go for vintage cardstock or modern minimalist designs. Attach a personalized label or handwritten note to the ribbon or tag for a meaningful touch.
To add even more visual interest, try adding bows, charms, or stickers neatly around the tag or along the ribbon. Secure everything with double-sided tape or a dab of hot glue to keep your decorations perfectly in place.
This way, your shoebox will look polished and thoughtfully wrapped.
Creative and Eco-Friendly Shoebox Wrapping Alternatives
If you want to make your shoebox wrapping both beautiful and environmentally responsible, turning to creative and eco-friendly alternatives is a brilliant choice. Embrace sustainable materials and upcycled decorations to transform your gift presentation into an artful, green statement.
Consider these ideas:
- Wrap with recycled newspaper or magazine pages for a vintage, textured look.
- Use scarves, lace, or colorful shoelaces as upcycled ribbons that add charm and personality.
- Skip the box by wrapping shoes directly in fabric, creating unique, zero-waste packaging.
- Tie natural twine around the box, accenting it with dried flowers or leaves for a rustic touch.
- Opt for biodegradable bamboo paper or reusable cloth bags to minimize environmental impact.
These thoughtful touches not only highlight your creativity but also honor the planet with every gift you give. It’s a win-win—beautiful gifts and a healthier Earth.
Frequently Asked Questions
Can I Wrap a Shoebox Without Using Scissors?
You can wrap a shoebox without scissors by using alternative tools like craft knives or tearing along folds. Master wrapping techniques by folding paper multiple times for clean edges. This creates a handcrafted, artistic finish with careful tearing and taping.
It’s all about being a bit creative and patient. Even without scissors, you can still make your gift look great! Just take your time with the folds and tape.
How Do I Store Wrapped Shoeboxes Long-Term?
Think of your wrapped shoeboxes as treasures needing a fortress: use airtight containers and label each box clearly. Store them upright in a cool, dry place, avoiding heavy stacking.
This way, you’re mastering preservation techniques and smart storage solutions. It’s all about keeping them safe and easy to find when you need them. Simple steps make a big difference!
What Are Quick Wrapping Ideas for Last-Minute Gifts?
You can quickly wrap gifts using colorful fabric tied with decorative ribbons, adding charm instantly.
Attach gift card ideas with clips or tape for a personal touch.
Repurposed paper and double-sided tape speed up your artistic wrapping.
Can Wrapping a Shoebox Affect Shoe Size or Shape?
Like a knight tightening his armor, you won’t change the shoe size by wrapping. Just be gentle. Over-tightening can alter the box shape, causing dents.
Use soft materials to keep both box and shoes pristine inside. It’s all about protecting what’s inside without causing any damage. So, take your time and wrap carefully.
How Do I Make Wrapping Easier for Oddly Shaped Shoeboxes?
You’ll make wrapping easier for oddly shaped shoeboxes by layering tissue under decorative paper. Using flexible wrapping techniques like fabric ties helps a lot.
Securing folds with double-sided tape creates smooth, artistic edges that both impress and protect. It’s all about working with the shape instead of against it.
This way, your wrapping looks neat and feels sturdy without the hassle. Give it a try, and you’ll see how much simpler it can be!
Conclusion
Wrapping a shoebox creatively not only protects your shoes but adds a personal touch that’s truly memorable. Did you know 80% of gift recipients remember beautifully wrapped presents more vividly? By choosing the right paper, mastering neat folds, and adding unique decorations, you transform a simple box into art.
Embrace eco-friendly alternatives to reduce waste while enhancing your gift’s charm. With these steps, your shoebox wrapping will stand out, impressing both eyes and hearts. It’s easier than you think to make your gift look amazing!