How To Tie Shoe Laces – Easy Techniques Explained
To tie your shoelaces easily and securely, start with a strong base knot using the left-over-right half knot. For beginners, the Bunny Ears method creates quick loops you cross and tuck to form a bow. The Circle method guarantees a neat, balanced knot.
If speed matters, learn the Ian Knot. It’s the fastest and most durable. Tighten loops evenly and avoid loose tension, and you’ll keep your laces secure all day.
Explore more techniques to enhance both style and reliability. You’ll find a way that works best for you in no time!
Key Takeaways
- Start with a secure base knot by crossing laces left-over-right and tightening firmly.
- Use the Basic or Bunny Ears method for easy, beginner-friendly shoelace tying.
- For speed and durability, try the Ian Knot by making and crossing loops simultaneously.
- Ensure even tension and properly tightened loops to prevent knots from loosening.
- Avoid common mistakes like tying a Granny Knot by maintaining consistent lace crossing directions.
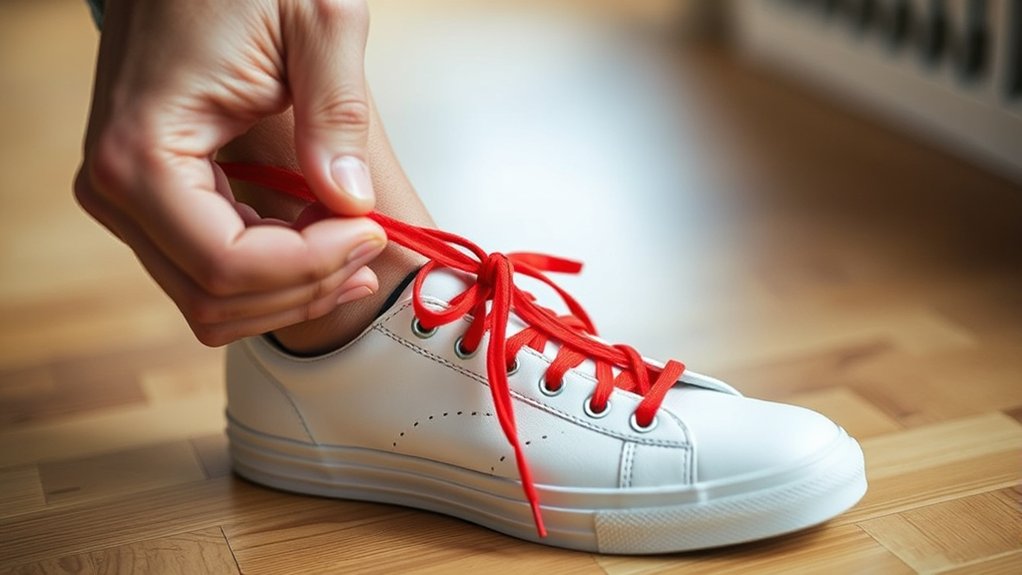
How To Tie A Basic Shoelace Knot Quickly
When you want to tie a basic shoelace knot quickly, start by crossing the laces to form an X. This fundamental technique traces back to the shoe lace history of practical fastening methods, reflecting its enduring cultural significance in everyday attire. Tuck one lace under the other and pull tight to create a secure base knot.
Next, form a loop with one lace and hold it firmly. Wrap the other lace around this loop, then push it through the hole that emerges, creating a second loop or “bunny ear.”
Pull both loops outward to tighten the knot securely against the shoe.
This precise, efficient method has stood the test of time, balancing functionality with cultural relevance across various societies. Mastering it ensures a reliable and swift fastening every time. It’s really handy once you get the hang of it!
Master The Bunny Ears Method For Beginners
Building on the basic shoelace knot, the Bunny Ears method offers a straightforward approach especially suited for beginners. This technique simplifies complex lacing patterns by focusing on two loops, called bunny ears, that you manipulate to secure the bow.
To master it, follow these steps:
To master it, simply create loops, cross them, tuck one through, and pull tight for a secure bow.
- Create a loop with each lace, forming two distinct bunny ears.
- Cross the bunny ears over each other to form an “X.”
- Tuck one bunny ear through the hole created beneath the crossover.
- Pull both loops tight evenly to secure a firm, though sometimes lopsided, bow.
This method relies on clear visual and tactile cues, making it ideal for children and novices.
While it may not produce the neatest bow, it provides reliable, quick results in varied lacing patterns.
Use The Circle Method For A Neat Shoelace Bow
Start by making two loose circles with each lace. Make sure they keep their shape but aren’t too tight.
Then, cross the loops over each other.
After that, thread one circle through the other to start the knot.
Finally, pull both loops evenly to tighten the bow. This will give you a secure and neat bow that won’t slip.
Forming The Circle
Although tying shoelaces might seem straightforward, mastering the circle method guarantees you create a neat and secure bow every time. Forming the circle is essential for balanced lace patterns and reflects knot symbolism, embodying order and functionality.
Follow these steps precisely:
- Create a loose loop with one lace, establishing the base circle near the knot.
- Thread this lace into the space adjacent to the knot, forming the first loop.
- Repeat with the other lace to produce a symmetrical second loop.
- Pull both loops tight simultaneously to secure tension evenly.
This technique minimizes slack, maintains consistent tension, and guarantees your bow appears tidy and stable.
By mastering circle formation, you enhance both the aesthetics and durability of your shoelace knot.
It’s pretty simple once you get the hang of it, and your shoes will thank you for it!
Threading Laces Through
How exactly do you thread your laces to achieve a neat, symmetrical bow using the circle method? Begin by tying a basic knot, then form a large, loose loop with each lace, making sure they lie parallel.
When threading laces through, focus on keeping even knot tension. This helps prevent uneven tightening that can distort the bow’s shape.
Cross the loops over each other, then carefully tuck one loop beneath the other to secure the knot.
Pay attention to lace color contrasts—they can help you visually confirm symmetrical threading and consistent tension.
The circle method requires clean, round loops for a tidy appearance. So, threading laces precisely through the loops ensures your bow stays balanced and looks great without losing its hold.
Tightening For Security
When you tighten your shoelaces using the circle method, you assure an even distribution of tension across the loops. This enhances both the security and appearance of the bow. It’s a neat trick that really helps the knot hold better.
This technique optimizes lace tension and prevents uneven stress points that could compromise knot durability. To tighten effectively, here’s what you do:
- Gradually pull each loop within the circle to maintain balanced tension.
- Make sure the lace threaded through the circle sits snugly without any slack.
- Adjust both loops at the same time to avoid twisting or misalignment.
- Finally, check that the bow lays flat and symmetrical for a neat finish.
Give it a try, and you’ll notice your laces stay secure and look great!
Tie The Ian Knot: The Fastest Shoelace Technique
Why settle for slower methods when you can tie your shoelaces in under a second? The Ian Knot, also called the Double Loop or Ian’s Speed Knot, is the fastest shoelace technique out there. It works by making two loops at the same time—one with each hand—and crossing them through each other’s openings in a smooth motion.
This method fits well with standard lacing patterns and actually makes your knot last longer and hold better than usual. By getting the hang of pulling both loops simultaneously, you’ll cut down your tying time a lot without losing any strength.
Whether you’re new to tying shoelaces or you’ve been doing it for years, practicing the Ian Knot will help you get faster and keep your shoelaces secure. It’s designed to stay tight and strong every time, perfect for everyday use or if you lead an active lifestyle.
Keep Your Shoelaces Tied All Day: Tips And Tricks
To keep your shoelaces tied all day, try using secure knot types like the Ian Knot or double knots—they really help minimize slippage.
Make sure to apply even tension on both loops before tightening; this way, the knot holds firm and won’t come loose easily.
Also, using laces made from high-friction materials can make a big difference.
And if you want extra security, lace locks are worth considering—they can stop your laces from coming undone during any activity.
Preventing Shoelace Slippage
Although shoelace slippage can be frustrating, applying specific techniques guarantees your laces stay securely tied throughout the day. The lace color and shoe material can affect friction, but you can optimize security regardless.
To prevent slippage effectively, try these tips: Use textured or non-slip laces to increase friction against smooth shoe materials. Apply even tension when tying to avoid loosening loops. Double knot your laces to create a more stable hold.
And don’t forget to regularly retighten laces during wear to maintain consistent tension. With these simple steps, you’ll keep your shoes snug and secure all day long.
Choosing Secure Knot Types
Keeping your shoelaces securely tied goes beyond preventing slippage. It starts with selecting the right knot type. For maximum knot durability, choose secure knots like the Ian Knot, Surgeons Knot, or Double Slip Knot. These knots greatly reduce the chance of coming undone during activity.
You can enhance security by wrapping laces multiple times, as seen in the Better Bow or Mega Ian knots. This increases friction and keeps things tighter.
Starting with a double or double slip knot also provides a strong base that resists slippage.
Pay close attention to lacing tension. Make sure to tighten loops evenly and pass loops through the middle hole twice for better stability.
Build A Strong Start With Shoelace Starting Knots
When you start tying your shoelaces, establishing a strong and secure foundation is essential for guaranteeing they stay tied. The starting knot sets the stage for lace tension and overall knot stability.
Here’s how to build a strong start with effective knot variations:
- Use the basic “Left-over-Right” half knot to cross laces and create initial tension.
- Opt for a double starting knot by wrapping laces twice for increased grip, especially on slippery materials.
- Try Ian’s starting knot technique to quickly form a mirrored, secure initial knot.
- Ascertain each loop is tight before securing the half knot to maintain consistent lace tension.
Mastering these starting knots prevents premature loosening and creates a reliable base for any subsequent knot you tie. It really makes a difference in how long your laces stay put!
Secure Shoelace Knots For Sports And Active Use
Because vigorous activity demands reliable lacing, you need secure knots designed to resist loosening under stress. Knots like the Ian’s Double Slip Knot and Surgeons Knot incorporate extra wraps or crossings, greatly enhancing knot durability by preventing slippage during movement.
The Turquoise Turtle Knot, with its double loop passes through the middle, increases friction and maintains lace tension effectively. This makes it ideal for active use.
Additionally, techniques such as the Better Bow or Double Bow, which involve wrapping laces multiple times before tying, distribute lace tension evenly and bolster hold strength.
Decorative And Special Purpose Shoelace Knots Explained
Although decorative and special purpose shoelace knots prioritize appearance over security, they offer unique styles that enhance your footwear’s visual appeal. These knots focus on decorative patterns and thematic knots, perfect for adding flair rather than a tight hold.
Consider these four examples:
- Moccasin Knot: Crosses two loops mid-lace and secures with a half knot, creating a distinctive decorative pattern.
- Ian’s Moccasin Knot: A quicker variation forming loops and nooses simultaneously for rapid styling.
- Boat Shoe Knot (Heaving Line): Wraps coils around lace ends, replacing traditional knots with elegant loops.
- Halloween Knot: Mimics the Hangman’s Noose, ideal for costumes or thematic decoration rather than functional security.
Common Shoelace Knot Mistakes And How To Fix Them
While decorative knots add style to your shoelaces, they often sacrifice security. This highlights the importance of mastering reliable tying techniques.
A common mistake is tying a Granny Knot by crossing the laces incorrectly. This results in a crooked, unstable knot that easily comes undone. To fix this, make sure you use the standard bow knot and keep consistent lace tension throughout the process.
Uneven tension or loosely tied loops weaken the knot’s consistency. This causes frequent loosening and the need to re-tie your laces. So, tighten each loop carefully to boost the overall security of your knot.
Frequently Asked Questions
What Type of Shoelaces Work Best for Different Shoe Types?
You’ll find flat cotton laces work best for casual shoes. They’re comfortable and give off a relaxed vibe, perfect for everyday wear.
On the other hand, round waxed laces are great for dress shoes. They look sleek and add a polished touch to your outfit.
For athletic footwear, synthetic or nylon laces offer durability and hold up well during intense activities.
It’s a good idea to consider both the lace material and style to match your shoe’s function. This way, you get the best fit and look for whatever shoes you’re wearing.
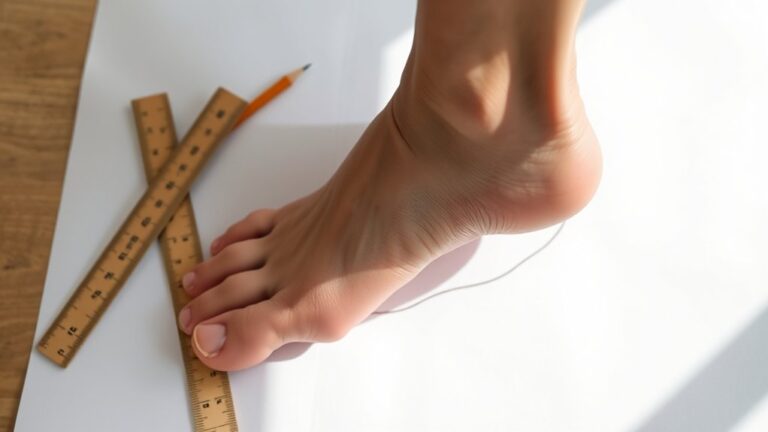
How Do I Choose the Right Shoelace Length for My Shoes?
Measure your shoe’s eyelets and consider your lace pattern to guarantee proper length. Match shoelace length with shoe color coordination for a polished look.
Too long or short disrupts fit and aesthetics, so choose precisely. It really makes a difference when your laces fit just right!
Can Shoelaces Affect Foot Comfort or Shoe Fit?
Yes, shoelaces directly impact foot comfort and shoe fit by controlling lace tension, which affects foot pressure distribution. Proper tension prevents hotspots and discomfort, ensuring even pressure and ideal support during movement.
It’s all about how tight or loose you make them. If the laces are too tight, your foot might feel pinched or sore. Too loose, and your foot can slide around, causing blisters or instability.
How Do I Clean and Maintain My Shoelaces?
Like restoring a faded painting, you clean shoelaces by soaking them in mild detergent. Then, let them air-dry thoroughly. It’s pretty simple and effective.
If your laces show deeper wear, you might want to try shoe dyeing to refresh their color. Or, you could just replace the laces entirely. That way, your shoes keep looking great and fit just right.
Are There Eco-Friendly or Sustainable Shoelace Options?
You can choose eco friendly materials like organic cotton, hemp, or recycled polyester for shoelaces, ensuring sustainable sourcing practices that reduce environmental impact.
These options not only help the planet but also maintain durability and performance in your footwear accessories.
Conclusion
Now that you’ve mastered these shoelace techniques, imagine your laces as sturdy bridges holding fast no matter the journey. Whether you prefer the swift Ian Knot or the classic Bunny Ears, each method guarantees reliability and ease.
With these precise skills, your shoes won’t betray you mid-stride. Keep practicing, and your laces will stay secure, comfortable, and stylish. They’ll be ready to support every step with unwavering strength and finesse.