How To Tie A Shoe – Simple Methods For Beginners
To tie your shoe simply, start by crossing the laces and pulling one through to form a secure initial knot. Create a loop with one lace, wrap the other around it, then pull through to form a bow. Tighten firmly.
Try the Bunny Ears or the faster Ian Knot for efficiency and security. Make certain there’s even tension and double-knot for a lasting hold.
Keeping these basics sharp sets a firm foundation before exploring advanced methods and tips for speed and durability. It’s all about getting comfortable first!
Key Takeaways
- Start with evenly sized laces, cross them, and pull one through to create a secure initial knot.
- Use the Bunny Ears method by making two loops, crossing them, and pulling one through the hole.
- Tighten the knot by pulling loops firmly and close to the shoe’s top for stability.
- Practice regularly to build muscle memory and improve speed and knot security.
- Secure the knot with a double knot to prevent it from coming undone during activity.
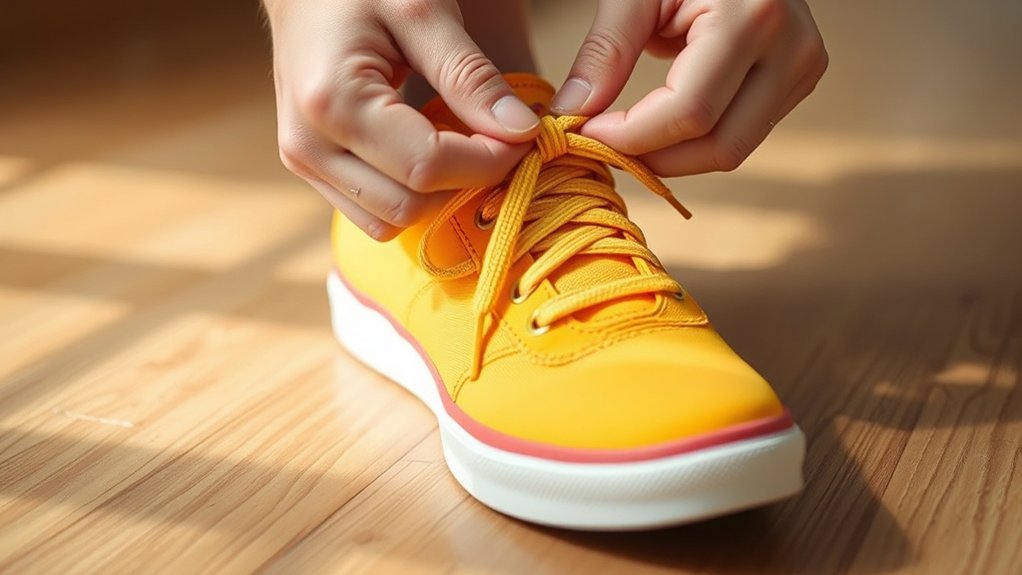
Tie a Basic Shoelace Knot
Before you begin, make sure the laces are evenly sized. Then cross the laces and pull one end through the loop to create a secure initial knot.
Pay attention to color coordination to enhance visual appeal, especially if your lace material reflects light differently.
Consider color coordination to boost style, especially with laces that catch the light uniquely.
Next, form a loop with one lace, gripping it firmly between your thumb and fingers to maintain tension.
Wrap the opposite lace around this loop, threading it through the created hole to form a second loop.
Confirm the lace material remains untwisted throughout to prevent uneven tension and premature wear.
Finally, pull both loops firmly to tighten the knot, positioning it close to the shoe’s top.
This placement maximizes snugness and security, ensuring your shoe stays tied during activity.
Easy, right? Now your shoelaces are good to go!
Master the Bunny Ears Shoe Tying Technique
Once you’ve mastered tying a basic shoelace knot, you can build on that foundation by learning the bunny ears technique. This method simplifies the process by creating two symmetrical loops that look like bunny ears.
Start by forming two loops of equal length to make sure your knot is balanced and secure. Then, cross the bunny ears over each other.
Next, tuck one loop behind the other and pull it through the hole that forms.
Tighten the bow by pulling both loops firmly, which secures the knot well. This technique offers a clear, visual approach, making it perfect for beginners.
To get faster and more confident, just practice making and tying the bunny ears over and over.
Before you know it, muscle memory will kick in, and you’ll be able to tie your shoelaces quickly and securely every time.
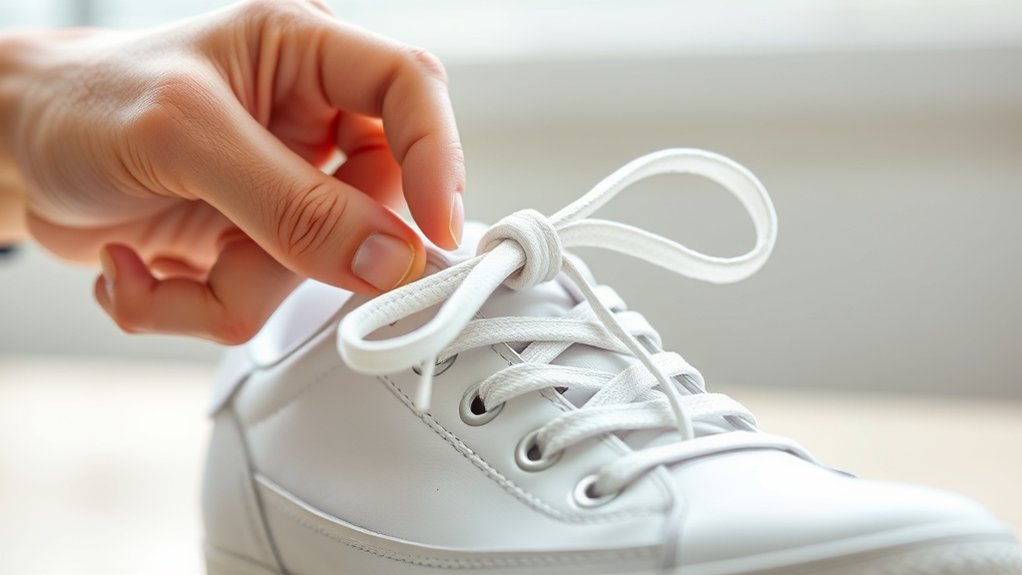
Secure Shoelaces With the Circle Method
Although it requires careful hand coordination, the circle method secures your shoelaces by starting with a loose knot and forming circular loops before threading one lace through the other. Begin by tying a loose initial knot to maintain flexibility in the laces.
Next, shape each lace into flat, even circular loops, ensuring the loops don’t twist or overlap unevenly.
Carefully thread one loop through the other, then pull both loops simultaneously. Focus on achieving balanced lace tension. Not too tight, because that makes untying hard, and not too loose, since that reduces knot durability.
Proper loop formation is essential to avoid weak points that cause slipping or premature untying.
Mastering this technique results in a secure, durable knot that holds well throughout daily activities. Give it a try, and you’ll notice how much better your laces stay tied!
Tie Shoes Faster With the Ian Knot
You’ll begin by positioning your fingers to grip each lace with three digits, forming a half rectangle that sets up the knot. This precise finger placement lets you pull both loops through at the same time, which basically cuts your tying time in half.
Once you get the hang of this motion, you’ll find yourself tying shoes faster and more efficiently. That’s why the Ian Knot is known as the fastest way to secure your shoes.
Ian Knot Basics
When you master the Ian Knot, you tie both laces simultaneously, which drastically speeds up the process. Start by crossing the laces to form half rectangles in each hand, making sure the shoelace patterns line up symmetrically.
Hold each lace tightly with your thumb, forefinger, and pinky. Then pull your fingers inward to weave the laces through the central X. This smooth, coordinated move tightens the knot efficiently and gives you a strong hold.
The symmetrical structure of the Ian Knot not only makes tying faster but also creates a secure, long-lasting knot. With a little practice, you’ll notice how this method cuts down tying time without messing with the knot’s strength.
Plus, the Ian Knot works great for both right- and left-handed folks. It’s a versatile, clever way to fasten your shoes quickly and reliably.
Finger Positioning Tips
Since finger positioning directly influences the speed and efficiency of the Ian Knot, you need to grip each lace firmly with your thumb, forefinger, and pinky to maintain a stable hold. This finger grip guarantees precise lace guidance during each step, reducing slack and improving control.
Focus on these key tips:
- Keep your fingers close to the laces to facilitate smooth crossing and pulling motions without losing tension.
- Form a half-rectangle shape with your thumb, forefinger, and pinky before pulling the laces through to maintain consistent tension.
- Use your fingers actively to guide the laces during the “X” formation, ensuring even tension and minimizing adjustments.
Mastering these finger positioning techniques will optimize your lace guidance and solidify the foundation for quick, reliable tying with the Ian Knot.
Give it a try and see how much easier and faster your tying becomes!
Speed And Efficiency
Although mastering the Ian Knot requires some initial practice, it really speeds up the shoe-tying process by eliminating the need to switch hand positions. You form loops with both hands at the same time, which makes tying much quicker. Often, you can get it done in under two seconds.
This technique also helps build muscle memory through repetition. That means you’ll be able to tie your shoes fast and consistently without thinking too much about it.
When using the Ian Knot, keep in mind your shoe material. Slick fabrics or thick laces might change how the loops form, so you may need to adjust a bit.
Tying efficiently not only saves time but also helps keep the tension even. This directly affects how comfortable your shoes feel on your feet.
Properly tightened laces prevent pressure points or slippage, which is important whether you’re wearing shoes daily or for sports.
Fix Untying Laces and Loose Knots
You’ll want to start by spotting the usual reasons your laces come undone—things like uneven tension or loops that are too loose. Once you catch those, make sure to tighten each lace strand before you tie the knot.
Using secure knot techniques, like double knots or reef knots, can really help keep things stable and stop them from slipping.
Plus, if you re-tighten your laces now and then throughout the day, you’ll make sure they stay nice and snug all the time.
Common Causes Untying
Why do shoelaces often come undone during activity? The answer lies in several technical factors impacting knot integrity, shoe material, and foot stability. Improper tension and tying technique reduce knot security, causing laces to loosen.
Common causes include:
- Uneven Tightening: Failing to tighten knots evenly leads to inconsistent tension, especially with synthetic shoe materials that offer less friction.
- Large Loops in Circle Method: Forming oversized loops increases slip risk, compromising foot stability during movement.
- Insufficient Loop Tension: Loops that aren’t pulled tightly allow knots to loosen under repetitive motion.
Understanding these causes helps you identify why your laces untie. It also helps you focus on improving tension and knot uniformity, which are essential for sustained foot stability and preventing untimely loosening.
Secure Knot Techniques
When you tighten both the loops and the knot evenly, you create a foundation that considerably enhances the stability of your shoelaces. Start by pulling each lace with balanced tension, guaranteeing the knot’s base forms symmetrically.
Pay attention to the lace material; slick fabrics like nylon require firmer tightening to prevent slipping.
After forming the initial bow, secure it with a double knot by looping an additional knot over the first. This technique not only boosts durability but also refines knot aesthetics, producing a clean, uniform appearance.
Properly tightened loops prevent uneven stress points that cause premature loosening.
Regularly inspect and adjust your laces during use to maintain ideal tension. By mastering these secure knot techniques, you’ll minimize unintentional untying and ensure a reliable, stable fit throughout your activity. It really makes a difference once you get the hang of it!
Lace Tightening Tips
Although tying a secure knot is essential, maintaining consistent tension throughout the laces prevents loosening and slipping during wear. Proper lace tension directly impacts knot security, ensuring your shoes stay fastened during activity.
To maximize lace tightening, follow these precise steps:
- Pull each lace firmly and evenly to establish balanced lace tension, preventing uneven loops that compromise knot security.
- Double knot your laces by tying a second knot over the first; this considerably reduces the risk of untied or loose knots.
- Regularly re-tighten your laces, especially after intense movement, to maintain ideal tension and avoid slack that leads to loosening.
Keep these tips in mind, and you’ll enjoy a snug fit that lasts all day!
Practice Tips to Tie Shoes Faster and More Securely
Since developing muscle memory is essential for efficiency, practicing shoe tying in short, focused sessions of about 10 minutes daily considerably improves your speed and accuracy.
Consistently repeating the same steps reinforces your technique, allowing you to tie shoes faster and more securely. Use visual aids like videos or guides to guarantee you understand proper footwear-specific tying methods.
Pay close attention to maintaining even tension on each loop and knot, as uneven tension compromises knot security and shoe performance.
Incorporate shoe maintenance by occasionally inspecting laces and eyelets to ensure smooth operation during tying.
Gradually increase practice complexity by experimenting with different tying methods, which enhances adaptability and reliability.
This disciplined approach sharpens your skill, ensuring efficient shoe tying that supports both comfort and safety.
Give it a try, and you’ll notice the difference in no time!
No-Tie Solutions for Easy Shoe Wearing
Mastering traditional shoe-tying techniques enhances your control and security, but not every situation calls for laces that need constant tying and untying.
No-tie solutions offer practical alternatives inspired by both musical inspiration and evolving fashion trends. They provide ease without sacrificing fit.
Consider these options:
- Elastic laces: Adjust once for a snug, consistent fit that eliminates repeated tying.
- Slip-on shoes: Utilize stretchy uppers to secure your foot comfortably with no laces needed.
- Locking laces with toggles: Combine security and convenience via mechanical closures, allowing quick adjustments without knots.
These innovations are especially useful if you have limited dexterity or want to streamline your routine.
Frequently Asked Questions
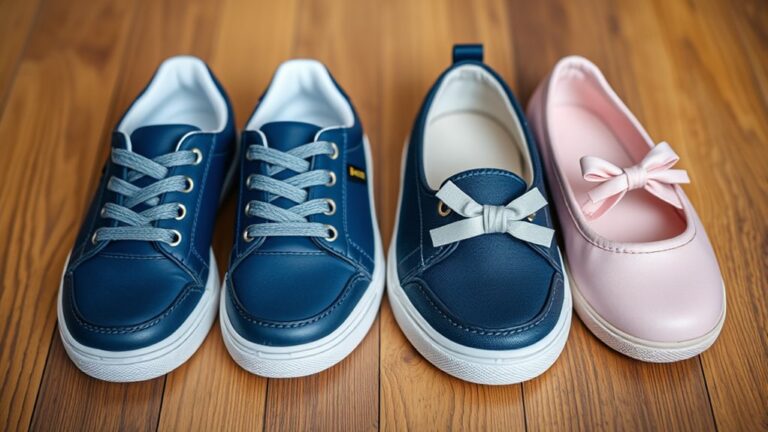
What Types of Shoelaces Are Best for Beginners?
You’ll want lace materials like soft polyester or nylon, which offer flexibility and grip. This makes tying techniques easier and less frustrating.
Flat, shorter laces reduce slack, helping you form secure knots quickly. They also improve your control during practice sessions.
These features make learning to tie shoelaces a lot smoother for beginners. Give them a try and see the difference!
How Do I Teach Shoe Tying to Children With Special Needs?
Use adaptive techniques like breaking steps down and tactile guidance. Incorporate visual aids, such as illustrated guides or colorful laces, to improve comprehension. Practice consistently, remain patient, and modify methods based on each child’s unique needs.
Try to keep things simple and take it one step at a time. Using tactile cues can really help, especially for kids who learn best by touch. And colorful laces? They’re not just fun—they make it easier to follow along.
Just remember, every child is different. So, keep practicing regularly, stay patient, and don’t be afraid to switch things up until you find what works best.
Can I Use These Methods for Boots or Only Sneakers?
Of course, your boots won’t tie themselves while you admire boot styling! You can use basic tying methods on boots with laces.
Just keep in mind to adjust for lace durability and thickness. This helps guarantee a secure, comfortable fit every time.
How Often Should I Replace Worn-Out Shoelaces?
You should replace shoelaces every 2 to 3 months, depending on how durable they are and how often you use them. It really varies from person to person.
Keep an eye out for signs like fraying, fading, or losing their stretch. When you notice any of these, it’s best to replace them right away.
That way, you’ll keep your shoes fitting securely and avoid any tripping hazards. It’s a simple step that makes a big difference!
Are There Any Cultural Differences in Shoe Tying Techniques?
Did you know cultural variations influence shoe tying? You’ll find traditional methods differ. Western “loop, swoop, pull” contrasts with East Asian precision or African decorative knots.
Each style reflects unique aesthetics, functionality, and cultural symbolism in their lacing techniques. It’s pretty interesting how something as simple as tying shoes can tell a story about different cultures!
Conclusion
Now that you’ve mastered these shoe-tying methods, you’ll never fumble with laces again. Your skills will be sharper than a surgeon’s scalpel. Whether you choose the basic knot, bunny ears, or the lightning-fast Ian Knot, each technique offers precise control and security.
Remember, consistent practice improves speed and tightness. That helps prevent loose laces from slowing you down. For ultimate convenience, you might want to consider no-tie solutions.
With these strategies, tying shoes becomes an effortless, reliable task every time. It’s all about finding the method that works best for you and sticking with it.